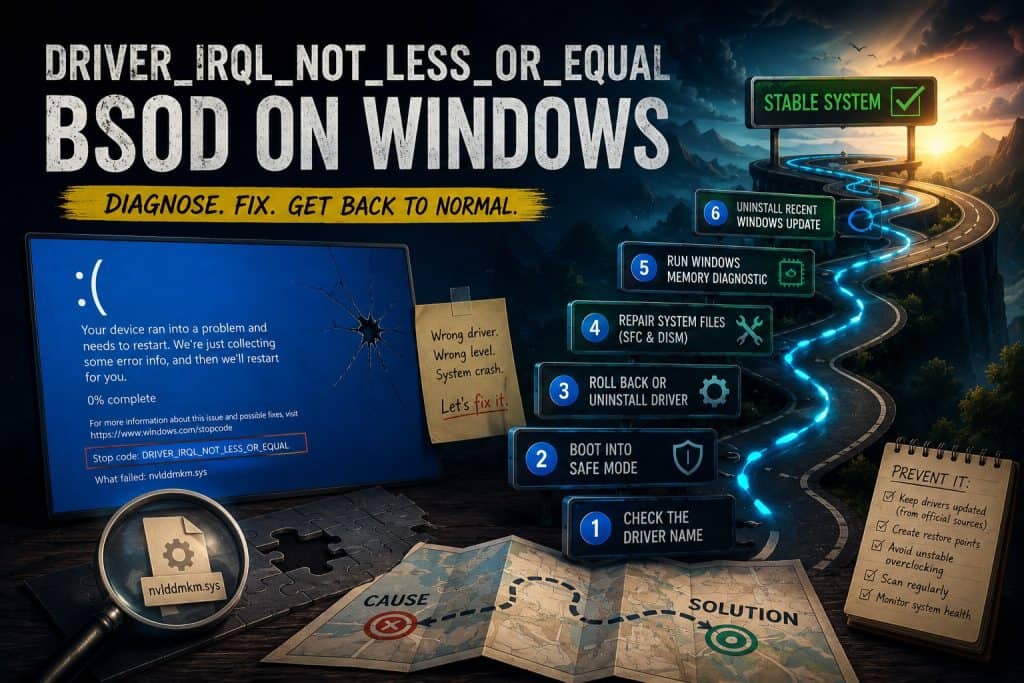
The DRIVER IRQL NOT LESS OR EQUAL BSOD (Blue Screen of Death) appears when a driver tries to access memory at an address it shouldn’t, at the wrong interrupt level. Windows can’t recover from it and forces a crash. This usually points to a bad driver – most often a display, network, or storage driver that was recently installed or auto-updated. Less commonly it’s corrupted system files or a RAM problem.
This guide walks you through identifying the cause and fixing it, including steps for when you’re stuck in a boot loop and can’t reach the desktop.
What Causes This Error
The stop code DRIVER_IRQL_NOT_LESS_OR_EQUAL means a driver accessed a memory address at an Interrupt Request Level (IRQL) that was too high. Drivers are supposed to lower their IRQL before touching pageable memory – when they don’t, Windows throws this error instead of letting it corrupt memory silently.
Common causes:
- Recently updated or installed driver – A new driver version with a bug is the most common trigger. GPU, network adapter, and storage drivers are the usual suspects.
- Antivirus or security software – These run at kernel level. A bad update to antivirus software can cause this.
- Corrupted system files – Damaged Windows files can cause existing drivers to behave incorrectly.
- Faulty RAM – Bad memory sectors can cause invalid memory access, which gets blamed on whichever driver was running at the time.
- Overclocking – An unstable CPU or RAM overclock can trigger this error under load.
- Windows Update – A cumulative update can silently push a driver update that conflicts with your hardware.
Step 1: Check the BSOD Screen for the Driver Name
Before anything else, look at what the BSOD screen shows. Windows often prints the name of the driver file that caused the crash directly on the screen, underneath the stop code.
It looks like: nvlddmkm.sys or netio.sys or ntfs.sys
Common driver files and what they point to:
| File | Component |
|---|---|
nvlddmkm.sys | NVIDIA GPU driver |
atikmpag.sys / atikmdag.sys | AMD GPU driver |
ndis.sys | Windows network stack |
netio.sys | Network I/O driver |
storport.sys | Storage controller |
ntfs.sys | NTFS file system driver |
tcpip.sys | TCP/IP driver |
If you see a driver file name, note it down. That file tells you exactly which component to focus on.
If you missed it, check the minidump file after a successful boot:
Get-EventLog -LogName System -EntryType Error -Newest 20 | Format-ListOr download WinDbg from the Microsoft Store and open C:\Windows\Minidump to read the crash file directly.
Step 2: Boot into Safe Mode
If your PC is stuck in a boot loop and you can’t reach the desktop, you need Safe Mode first. Safe Mode loads Windows with only essential drivers, which is enough to uninstall the problematic one.
From a boot loop:
Windows should enter the Windows Recovery Environment (WinRE) automatically after two or three failed boots. If it doesn’t, force it:
- Power on the PC.
- Hold the power button the moment the Windows logo appears to force a shutdown.
- Repeat three times.
- On the fourth boot, Windows displays Preparing Automatic Repair and enters WinRE.
In WinRE, go to Troubleshoot > Advanced Options > Startup Settings > Restart, then press 4 for Safe Mode or 5 for Safe Mode with Networking.
From Windows (if you can reach the desktop):
Hold Shift and click Restart from the Start menu. Navigate to Troubleshoot > Advanced Options > Startup Settings > Restart, then press 4 or 5.
Step 3: Roll Back or Uninstall the Faulty Driver
This is the fix that resolves the error in most cases. Do this in Safe Mode if you can’t boot normally.
Roll back a driver:
- Right-click the Start button and open Device Manager.
- Expand the relevant category. If you identified the driver in Step 1, go directly to that device. Otherwise, start with Display adapters and Network adapters – these are the most common cause.
- Right-click the device and select Properties.
- Go to the Driver tab.
- Click Roll Back Driver if it’s available.
If Roll Back Driver is greyed out, the previous driver version wasn’t saved. Uninstall instead.
Uninstall a driver:
- In Device Manager, right-click the device.
- Select Uninstall device.
- Check Delete the driver software for this device.
- Restart.
Windows will load a basic generic driver on restart. If the BSOD stops, the driver was the problem. Reinstall a clean version from the manufacturer’s website – not through Windows Update.
For GPU drivers specifically, use Display Driver Uninstaller (DDU) in Safe Mode for a complete removal before reinstalling. This avoids leftover files from the old driver causing conflicts.
Step 4: Repair System Files with SFC and DISM
If uninstalling the driver didn’t fix it, or if no specific driver was identified, corrupted system files may be the cause. Run DISM first to repair the component store, then SFC.
Open Command Prompt as administrator and run:
DISM /Online /Cleanup-Image /RestoreHealthWait for it to finish, then run:
sfc /scannowRestart after both commands complete and test.
If SFC itself fails, see the separate guide on fixing the Windows Resource Protection could not perform the requested operation error.
Step 5: Run Windows Memory Diagnostic
If the BSOD keeps happening across different drivers, RAM is worth checking. Bad memory causes random invalid address errors that get attributed to whichever driver happens to be running.
- Press Win + R, type
mdsched.exe, hit Enter. - Select Restart now and check for problems.
The test runs on restart and takes 10-20 minutes. After Windows loads, check the results in Event Viewer:
eventvwr.mscGo to Windows Logs > System and look for events from MemoryDiagnostics-Results.
If the test finds errors, the RAM module is failing and needs to be replaced. If you have multiple sticks, reseat them and test one at a time to identify which one is bad.
Step 6: Uninstall a Recent Windows Update
If the error started after a Windows Update and none of the above fixes work, roll back the update.
Check when the error started:
Open Command Prompt as administrator and run:
wevtutil qe System /q:"*[System[Provider[@Name='Microsoft-Windows-WindowsUpdateClient'] and (EventID=19)]]" /f:text /rd:true /c:5This shows the last 5 updates installed. Compare the dates with when the BSOD first appeared.
Remove the update:
wusa /uninstall /kb:XXXXXXXXXReplace XXXXXXXXX with the KB number of the update you want to remove. Alternatively, go to Settings > Windows Update > Update History > Uninstall Updates and remove it from there.
Restart and check if the BSOD is gone.
Prevention Tips
- Delay automatic driver updates – Go to Settings > System > Advanced System Settings > Hardware > Device Installation Settings and select “No (your device might not work as expected).” This stops Windows from auto-pushing driver updates.
- Create a restore point before major updates – A restore point takes a few seconds to create and gives you a rollback option if an update breaks something.
- Keep RAM stress-tested on new hardware – Run MemTest86 overnight on any new machine before relying on it. Catching bad RAM early saves a lot of troubleshooting later.
- Watch for driver update notifications – If you get a BSOD within a day of Windows Update running, check Device Manager before anything else.
Conclusion
The DRIVER IRQL NOT LESS OR EQUAL error almost always comes down to a driver. Start with Step 1 to identify which one, then work through the fixes in order. If you’re managing a Windows Server environment and need full control over driver updates and system-level access, Veeble’s Windows VPS gives you unrestricted RDP and administrator access to run all these fixes without restrictions.