The critical process died error (stop code: CRITICAL_PROCESS_DIED) appears when Windows forcibly terminates a core kernel process, triggering a crash loop your PC cannot exit on its own. This guide covers every fix, from Startup Repair to Safe Mode to a clean install fallback, including scenarios where you cannot access Windows.
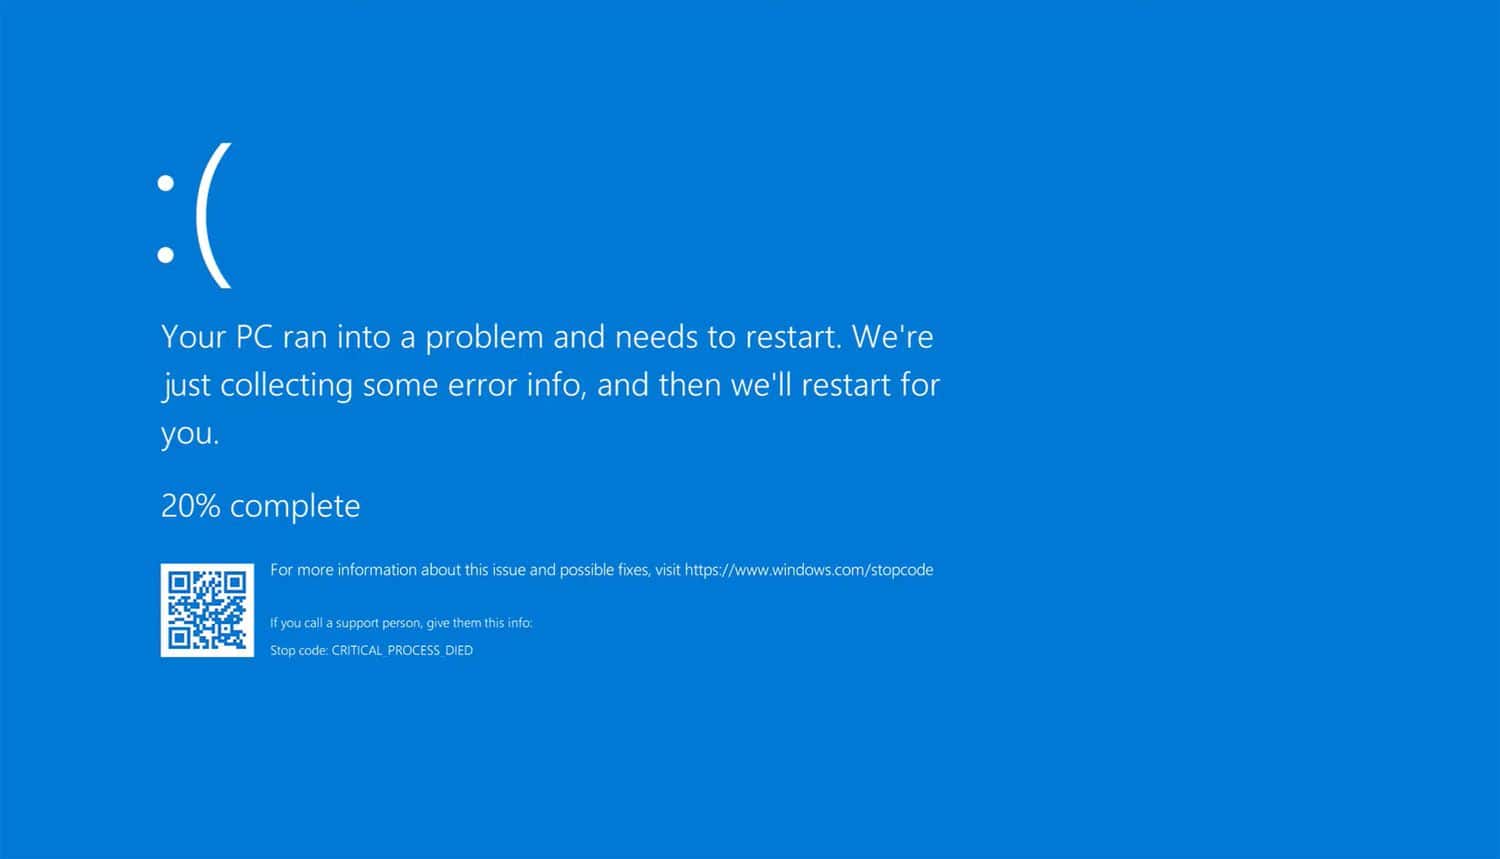
Table of Contents
What Causes CRITICAL_PROCESS_DIED?
This stop code appears when a Windows kernel process that must stay running is forcibly terminated. The most common triggers are:
- Corrupt or incompatible drivers — A recently installed or auto-updated driver (GPU, NIC, storage controller) crashes a process it depends on.
- Faulty Windows Update — A cumulative or feature update can introduce instability, especially on older hardware.
- Corrupted system files — Damaged files in the Windows component store break core OS processes.
- Failing RAM or SSD — Bad memory sectors or a degraded NVMe/SATA drive cause random process termination under load.
- Malware — Rootkits and kernel-level infections kill or replace system processes.
Before starting, note your situation:
- Can you reach the login screen? Start at Fix 2.
- Stuck in a boot loop, can’t reach Safe Mode? Start at Fix 1 — you need the Windows Recovery Environment (WinRE).
- WinRE not launching automatically? Boot from a Windows installation USB (details in Fix 1).
Fix 1: Run Startup Repair from Windows Recovery Environment
Windows should automatically enter WinRE after two or three failed boots. If it does not, force it:
- Power the PC fully off.
- Power it on, then hold the power button the moment the Windows logo appears to force a shutdown. Repeat three times.
- On the fourth boot, Windows should display Preparing Automatic Repair, then load WinRE.
If WinRE still does not load, boot from a Windows 10/11 USB:
- Download the Windows Media Creation Tool on another PC.
- Create a bootable USB.
- Boot from the USB, select your language, then choose Repair your computer (bottom-left) instead of Install.
Once inside WinRE:
- Go to Troubleshoot → Advanced options → Startup Repair.
- Select your Windows installation and let the repair run.
- Restart and test.
If Startup Repair reports it could not fix the problem, continue to Fix 2.
Fix 2: Boot into Safe Mode and Uninstall Recent Updates
Safe Mode loads Windows with the minimum required drivers, which bypasses most driver and update conflicts.
Enter Safe Mode from WinRE
- In WinRE, go to Troubleshoot → Advanced options → Startup Settings → Restart.
- After the restart, press 4 (Enable Safe Mode) or 5 (Enable Safe Mode with Networking).
Enter Safe Mode from the login screen
- Hold Shift and click Restart on the login screen.
- Navigate to Troubleshoot → Advanced options → Startup Settings → Restart.
- Press 4 or 5.
Uninstall recent Windows updates in Safe Mode
Once in Safe Mode:
Settings → Windows Update → Update History → Uninstall updatesSort by Installed On, then remove the most recent cumulative update. Restart normally and test.
To uninstall via Command Prompt instead:
wusa /uninstall /kb:XXXXXXXXX /quiet /norestartReplace XXXXXXXXX with the KB number of the update you want to remove (visible in Update History).
Fix 3: Run SFC Scan from Command Prompt
System File Checker (SFC) scans for corrupted protected system files and replaces them from a cached copy.
From inside Windows or Safe Mode:
Open Command Prompt as Administrator, then run:
sfc /scannowWait for the scan to complete. If it finds and repairs corruption, restart and test.
If you cannot boot into Windows at all, run SFC from WinRE:
- In WinRE, go to Troubleshoot → Advanced options → Command Prompt.
- Identify your Windows drive letter (it may not be
C:in WinRE):
dir C:\Windows
dir D:\Windows
Use whichever drive contains the Windows folder.
- Run SFC offline:
sfc /scannow /offbootdir=C:\ /offwindir=C:\WindowsReplace C: with the correct drive letter if needed.
Fix 4: Run DISM to Repair the Windows Image
DISM (Deployment Image Servicing and Management) repairs the Windows component store that SFC draws from. Run this if SFC reports errors it could not fix, or if SFC itself fails to complete.
Requires an internet connection or a mounted Windows ISO.
DISM /Online /Cleanup-Image /CheckHealthDISM /Online /Cleanup-Image /ScanHealthDISM /Online /Cleanup-Image /RestoreHealthRun these in sequence. The RestoreHealth command downloads replacement files from Windows Update, so allow 15 to 30 minutes. After it completes, run SFC again:
sfc /scannowThen restart.
Offline DISM from WinRE (no internet needed):
Mount a Windows ISO or insert a Windows installation USB, then run:
DISM /Image:C:\Windows /Cleanup-Image /RestoreHealth /Source:D:\Sources\install.wim /LimitAccessReplace C: with your Windows drive and D: with the USB/ISO drive letter.
Fix 5: Roll Back or Uninstall a Faulty Driver
If the BSOD started after a driver installation or automatic update, removing or rolling back that driver is often the fastest fix.
Roll back a driver (Windows accessible)
- Open Device Manager (right-click Start → Device Manager).
- Expand the relevant category (most commonly Display adapters or Network adapters).
- Right-click the device → Properties → Driver tab → Roll Back Driver.
If Roll Back Driver is greyed out, the previous driver version was not saved. Uninstall instead.
Uninstall a driver in Safe Mode
- Boot into Safe Mode (see Fix 2).
- Open Device Manager.
- Right-click the device → Uninstall device.
- Check Delete the driver software for this device if prompted.
- Restart. Windows will load a generic driver.
Identify the crashing driver from a minidump
If you can boot at all, read the minidump file to identify the exact driver:
- Download WhoCrashed or open WinDbg from the Microsoft Store.
- Point it at
C:\Windows\Minidump\. - The output names the driver file (e.g.,
nvlddmkm.sysfor NVIDIA,iaStorA.sysfor Intel storage).
Once you have the driver name, visit the manufacturer’s site and install the previous stable version manually.
Fix 6: Run CHKDSK to Check for Disk Errors
A failing drive or corrupted file system can cause CRITICAL_PROCESS_DIED by corrupting process memory maps at runtime.
From Command Prompt (run as Administrator):
chkdsk C: /f /r /x/f— fixes errors on the disk./r— locates bad sectors and recovers readable data./x— forces the volume to dismount first.
You will be asked to schedule the scan for the next restart. Type Y and restart.
The scan can take 30 minutes to several hours depending on drive size and condition.
From WinRE Command Prompt:
chkdsk C: /f /rIf CHKDSK reports a large number of bad sectors, the drive is failing and should be replaced.
Fix 7: Perform a System Restore
System Restore rolls Windows back to a previous working state without affecting personal files. It requires that restore points were created before the BSOD started.
From Windows or Safe Mode:
- Press Win + R, type
rstrui, press Enter. - Select Choose a different restore point and click Next.
- Pick a restore point dated before the crash began.
- Click Finish and let the restore complete.
From WinRE:
- Go to Troubleshoot → Advanced options → System Restore.
- Follow the same steps above.
If no restore points are listed, this option is unavailable. Continue to Fix 8.
Fix 8: Reset Windows (Keep Your Files)
Windows Reset reinstalls Windows while preserving your personal files. It removes all installed apps and reverts all system settings, which eliminates driver conflicts, corrupt system files, and update issues in one step.
From WinRE:
- Go to Troubleshoot → Reset this PC.
- Select Keep my files.
- Choose Cloud download (recommended, downloads a fresh Windows image) or Local reinstall.
- Follow the prompts.
The reset takes 30 to 60 minutes. Your files will be in place when it completes, but you will need to reinstall applications.
When Nothing Works: Clean Install Overview
If Reset fails or WinRE itself is broken, a clean install is the reliable final step.
What you need:
- A Windows 10 or Windows 11 USB created with the Media Creation Tool (another PC required).
- Your Windows license key (or a Microsoft account linked to a digital license).
Steps:
- Boot from the USB (press F12, F8, or Del during POST to access boot menu — key varies by manufacturer).
- Select Install now.
- When asked for a product key, click I don’t have a product key if your license is linked to a Microsoft account. It activates automatically after installation.
- On the installation type screen, select Custom: Install Windows only.
- Delete the existing Windows partition (this erases it entirely), select the unallocated space, and click Next.
Warning: Deleting the partition erases everything on it. Back up files to an external drive or cloud storage first if at all possible.
After installation, install all drivers from the manufacturer’s support site rather than relying on Windows Update to find them.
If you encountered a similar boot loop with a different error, see the Veeble guide on fixing the srttrail.txt Startup Repair error, which affects the same boot environment and is sometimes triggered by the same underlying causes.
Prevention Tips
- Pause Windows Update before major work. Go to Settings → Windows Update → Advanced options → Pause updates. This gives you time to check community reports before a new cumulative update installs.
- Create a restore point before driver installations. Press Win + R →
sysdm.cpl→ System Protection → Create. - Update drivers manually, not automatically. Use DDU (Display Driver Uninstaller) to cleanly remove GPU drivers before installing new versions.
- Run CHKDSK quarterly. Catching bad sectors early prevents cascading corruption.
chkdsk C: /scan- Run a memory test. Use Windows Memory Diagnostic (
mdsched.exe) or MemTest86 to rule out RAM issues before they cause repeated crashes.
Conclusion
The CRITICAL_PROCESS_DIED error is fixable in most cases without a clean install. Work through the fixes in order: Startup Repair first, then SFC and DISM, then driver rollbacks, then CHKDSK. Reserve Reset and clean install for cases where system files are beyond repair.
If you are running a Windows-based server and want a stable, managed environment that sidesteps local hardware failure entirely, Veeble’s Windows VPS plans run on enterprise-grade infrastructure with full remote access and snapshot support, so a bad driver update never puts your entire workflow offline.