Introduction
Minecraft is a sandbox game that lets you build, explore, and survive in an endless 3D world made entirely of blocks. Originally released in 2009, it has become the best-selling video game of all time, loved by millions of players around the world.
In this guide, you’ll learn how to set up your own Minecraft server in 2025 so you and your friends can play together in a custom world. We’ll walk you through installing the necessary software, configuring the server, and getting your world online.
Running your own Minecraft server gives you full control — from setting rules and installing mods to managing players and backups. Whether you want a small private server or a larger multiplayer community, this tutorial will cover everything you need to get started.
For the best experience, consider hosting your Minecraft server on a Veeble KVM VPS. Our VPS plans are optimized for high performance, uptime, and easy scalability — ensuring your Minecraft world runs smoothly without lag or downtime.
This tutorial uses the Java Edition of Minecraft. If you purchased Minecraft through the Microsoft App Store, you won’t be able to connect to this server. The same applies to most console editions, such as PlayStation 4, Xbox One, or Nintendo Switch, as these versions use the Microsoft (Bedrock) Edition, which is not compatible with Java servers. You can obtain the Minecraft: Java Edition from the official website here.
Prerequisites
- A VPS or Dedicated Server: You’ll need a server with at least 2 GB of RAM and a dual-core CPU to run a basic Minecraft world. For smoother performance with multiple players or mods, 4 GB RAM or more is recommended.
- Operating System: This tutorial uses Ubuntu 22.04 LTS as the operating system. (You can also follow along on other Linux distributions, but commands may vary slightly.)
- A Non-Root User with Sudo Privileges: It’s best practice to run your server as a regular user with
sudoaccess for security reasons. You can follow this guide to set up your server and complete the steps outlined.
Steps to Build Your Own Minecraft Server
- Update Your Server and Configure the Firewall
- Download and Install the Latest Minecraft Server
- Configure and Run the Minecraft Server
- Keep Your Minecraft Server Running Continuously
- Connect to Your Minecraft Server Using the Game Client
Step 1 – Update Your Server and Configure the Firewall
Now that your server is ready, the first step is to install the software needed to run Minecraft. The game is built on Java, so we’ll start by setting that up.
By default, Ubuntu 22.04 LTS doesn’t include a recent enough version of Java to support the latest releases of Minecraft. To fix this, we’ll add a trusted third-party repository (PPA — Personal Package Archive) that maintains newer Java builds for Ubuntu. Run the following command to add it:
sudo add-apt-repository ppa:openjdk-r/ppaOnce the repository is added, update your package list to include the new source:
sudo apt updateWhen prompted, press Y to confirm. If you’re asked to restart any services, simply press ENTER to proceed with the default options.
Now, install OpenJDK 21 (headless) — this is a lightweight version of Java without graphical components, ideal for running Minecraft servers:
sudo apt install openjdk-21-jre-headlessConfirm version:
java -versionNext, you’ll need to install Screen, a utility that lets you run your Minecraft server in a detachable terminal session. This ensures the server continues running even if you close your SSH connection.
Install Screen with:
sudo apt install screenWith Java and Screen installed, let’s make sure your firewall is properly configured. Minecraft uses port 25565 by default for player connections, so we’ll open that port on the firewall:
sudo ufw allow 25565This allows incoming Minecraft traffic while keeping your server secure.
At this point, you have all the essential packages installed and your firewall configured correctly. You’re now ready to move on to the next step — downloading the Minecraft server software.
Step 2 – Download and Install the Latest Minecraft Server
With Java and your firewall set up, the next step is to download the official Minecraft server file. This file contains everything needed to host and manage your own Minecraft world.
Start by visiting the official Minecraft server download page. On that page, you’ll see a link labeled “Download minecraft_server.<version>.jar” — where <version> represents the latest release number.
Copy the download link from that page, then return to your server terminal and use the following command to download it directly:
wget https://piston-data.mojang.com/v1/objects/95495a7f485eedd84ce928cef5e223b757d2f764/server.jarOnce the download is complete, the file will appear as server.jar in your current directory.
To make things more organized — especially if you plan to update or switch versions later — it’s a good idea to rename the file to include the version number:
mv server.jar minecraft_server_<version>.jarFor example, if you downloaded version 1.21.1, your command would look like:
mv server.jar minecraft_server_1.21.1.jarIf you prefer to run an earlier release of Minecraft, older versions are available from trusted archives such as mcversions.net. However, this guide will continue using the latest stable version to ensure the best compatibility and performance.
Now that the server file is ready, let’s move on to the next step — setting up and launching your Minecraft server.
Step 3 – Configure and Run the Minecraft Server
Now that you’ve downloaded the Minecraft server .jar file, it’s time to configure and start your server for the first time.
1. Start a Detachable Screen Session
It’s best to run the Minecraft server inside a screen session, so it continues running even if you disconnect from your SSH session.
Start screen with:
screenAfter reading the banner, press Spacebar to proceed. You’ll now be in a detachable terminal session, where you can safely start the server.
2. Run the Server for the First Time
Now, initialize your Minecraft server:
java -Xms1024M -Xmx1024M -jar minecraft_server_1.18.2.jar noguiYou’ll likely see an error — this is expected. Minecraft intentionally stops the first launch to make sure you agree to its End User License Agreement (EULA).
Before proceeding, let’s quickly break down what this command does:
-Xms1024M— Starts the server with 1GB of memory. You can increase this (e.g.,-Xms2G) if your system allows.-Xmx1024M— Sets the maximum RAM the server can use (also adjustable).-jar— Specifies which.jarfile to execute.nogui— Runs the server without a graphical interface, ideal for headless setups.
Your output will look something like:
[main/ERROR]: Failed to load properties from file: server.properties
[main/WARN]: Failed to load eula.txt
[main/INFO]: You need to agree to the EULA in order to run the server.
Minecraft has now created two new files — eula.txt and server.properties — in your current directory.
3. Accept the Minecraft EULA
Open the EULA file in your favorite text editor. I am using “nano” here:
nano eula.txtYou’ll see a line like this:
eula=falseRead the EULA at the link provided in the file, then change the value to:
eula=trueSave and exit (Ctrl + X, then Y, then Enter).
4. Configure Your Server Settings
Next, open the main configuration file:
nano server.propertiesThis file contains all the settings that define your world, gameplay, and server behavior.
Here are a few key options to customize:
| Property | Description |
|---|---|
| difficulty | Sets how challenging the world is (peaceful, easy, normal, hard). |
| gamemode | Defines the play style (survival, creative, adventure, spectator). |
| level-name | The internal name for your world. |
| motd | Message shown in the multiplayer server list. |
| pvp | Enables or disables player-vs-player combat (true or false). |
Adjust the settings to your preference, then save and close the file.
5. Start the Server Again
Now that you’ve accepted the EULA and configured your settings, you can fully start the Minecraft server:
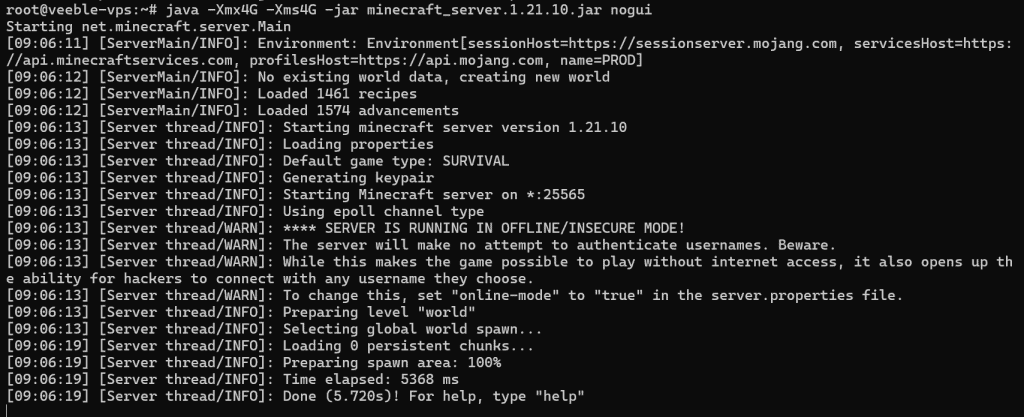
java -Xms1024M -Xmx4G -jar minecraft_server_1.18.2.jar nogui💡 Adjust -Xmx4G if you want to allocate more or less RAM based on your system resources.
After a few moments, you’ll see output like:
[Server thread/INFO]: Starting minecraft server version 1.18.2
[Server thread/INFO]: Done (30.762s)! For help, type "help"
6. Verify the Server is Running
Once you see the “Done” message, your server is up and running.
You can run administrative commands directly in the terminal, such as:
helpExample output:
/ban <player>
/op <player>
/save-all
From here, your Minecraft server is officially live. Next, you’ll learn how to keep it running in the background even after you disconnect.
Step 4 – Keep Your Minecraft Server Running Continuously
Once your Minecraft server is up and running, you’ll likely want it to stay online even after you close your SSH session or disconnect from the terminal.
You can easily do this using the screen utility you started earlier.
1. Detach from the Screen Session
To leave the server running while you exit the terminal, detach from your current screen session using:
Ctrl + A + DYou’ll see a message confirming that the session has been detached:
[detached from 3626.pts-0.minecraft]This means your Minecraft server continues running in the background, even though you’ve returned to your main shell.
2. Check Active Screen Sessions
To view all active screen sessions (in case you have more than one), run:
screen -lsYou’ll get an output similar to:
There is a screen on:
    3626.pts-0.minecraft	(Detached)
1 Socket in /run/screen/S-ubuntu.
Each screen session has a unique ID like 3626.pts-0.minecraft in this example.
3. Reconnect to Your Minecraft Server Console
If you want to check on your running server or issue commands later, you can reopen the screen session:
screen -r 3626Once reattached, you’ll be back at the Minecraft console — where you can run commands like save-all, stop, or monitor player activity.
4. Safely Detach and Log Out
When you’re finished, detach again with:
Ctrl + A + DThen you can safely close your SSH session without stopping the Minecraft server.
✅ Pro Tip:
If you ever forget which screen your server is running in or it becomes unresponsive, you can use:
screen -wipeto clean up any old or dead sessions before starting a new one.
Now that your Minecraft server runs independently in the background, the next step is to connect from your Minecraft game client and start playing in your new world.
Step 5 – Connect to Your Minecraft Server Using the Game Client
With your Minecraft server live and running, it’s time to join the fun from your own game client.
Start by launching Minecraft: Java Edition on your computer. From the main menu, click “Multiplayer” — this will open the list of available servers.
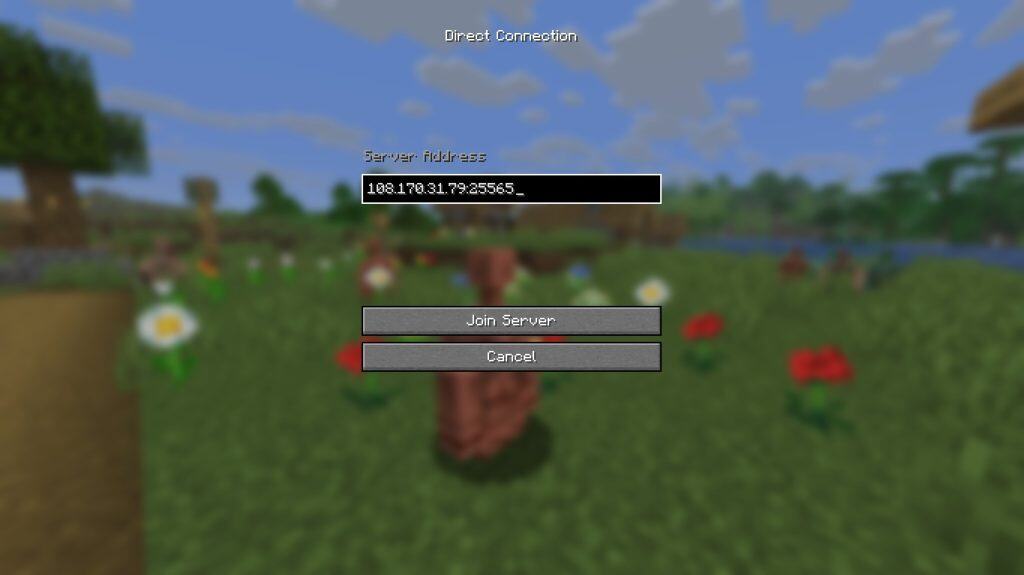
Next, click “Add Server” or “Direct Connect” to join your server. In the box that appears, enter your server’s public IP address followed by the port number (default: 25565) — the same details you use to access your VPS via SSH.
Click Join Server to connect.
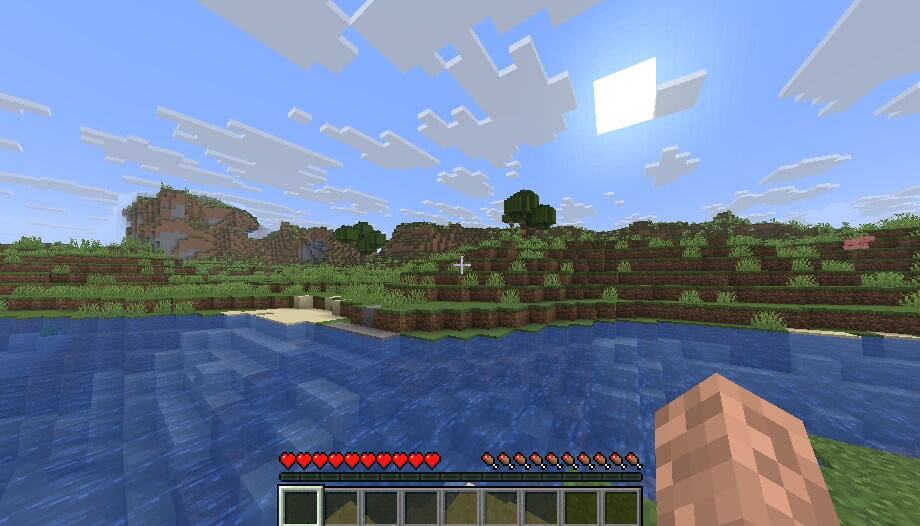
Congratulations, you have successfully created your own Minecraft server. You are now ready to play!


